

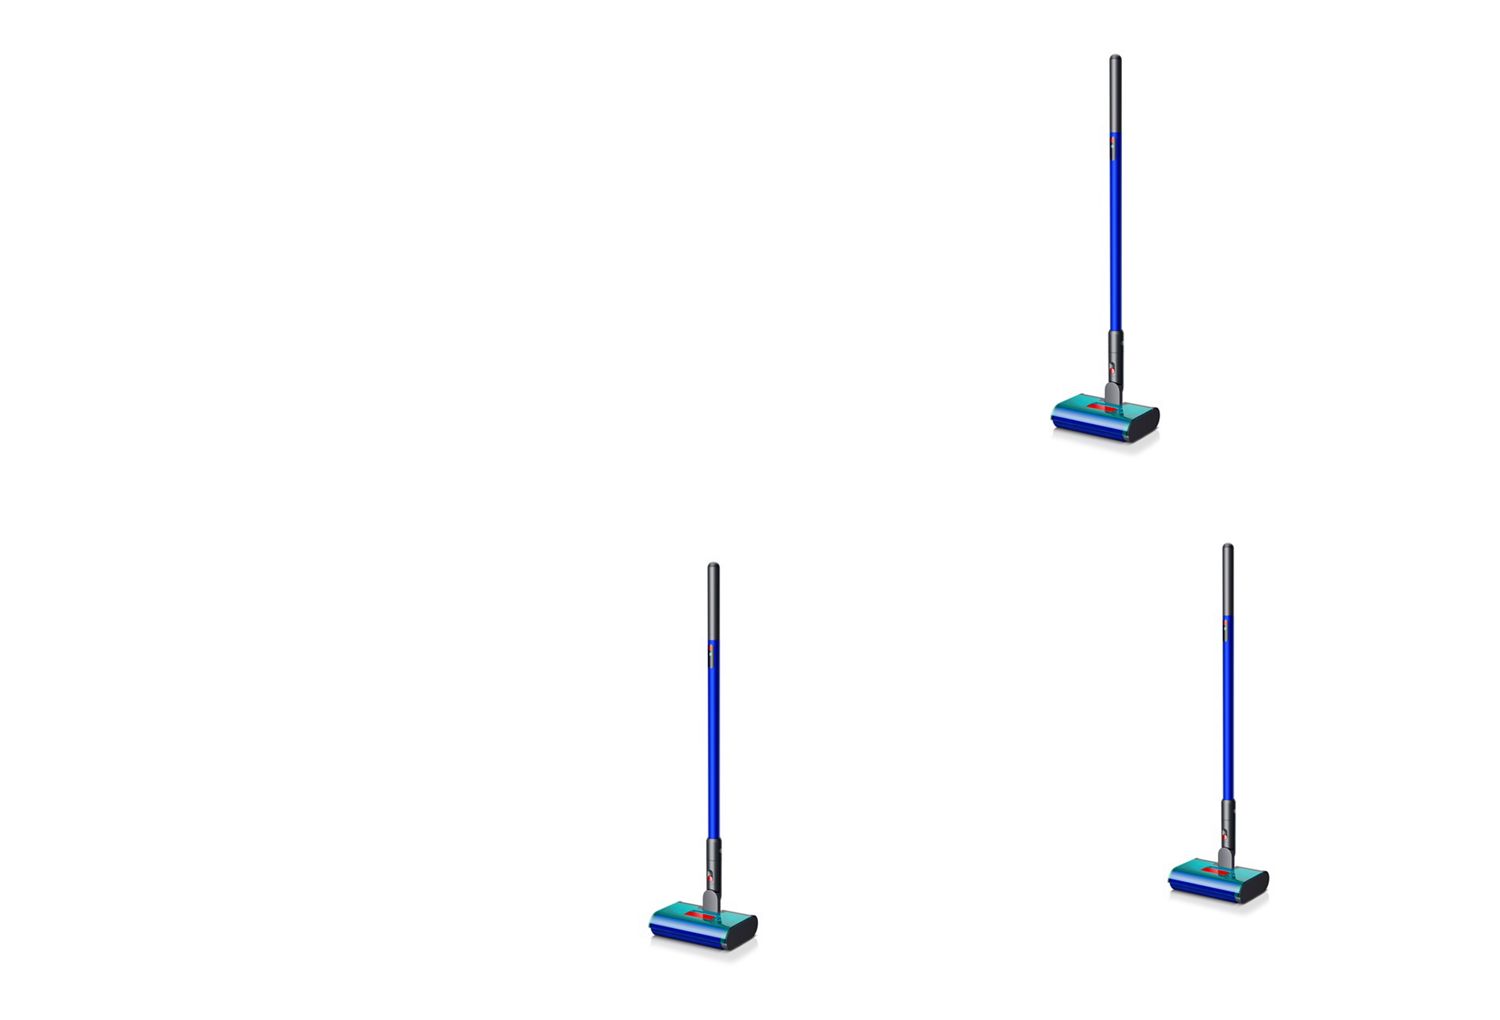
Meet your Dyson W1 PencilWash™ cleaner
-
Getting started
Empties in 20 seconds for quick, hygienic disposal. Separates fine debris from dirty water to help prevent blockages and keep pipes clear.
-
Using your machine
Self-cleans the roller on the dock while charging, removing dirt and stain residue after cleaning – so you don’t have to.
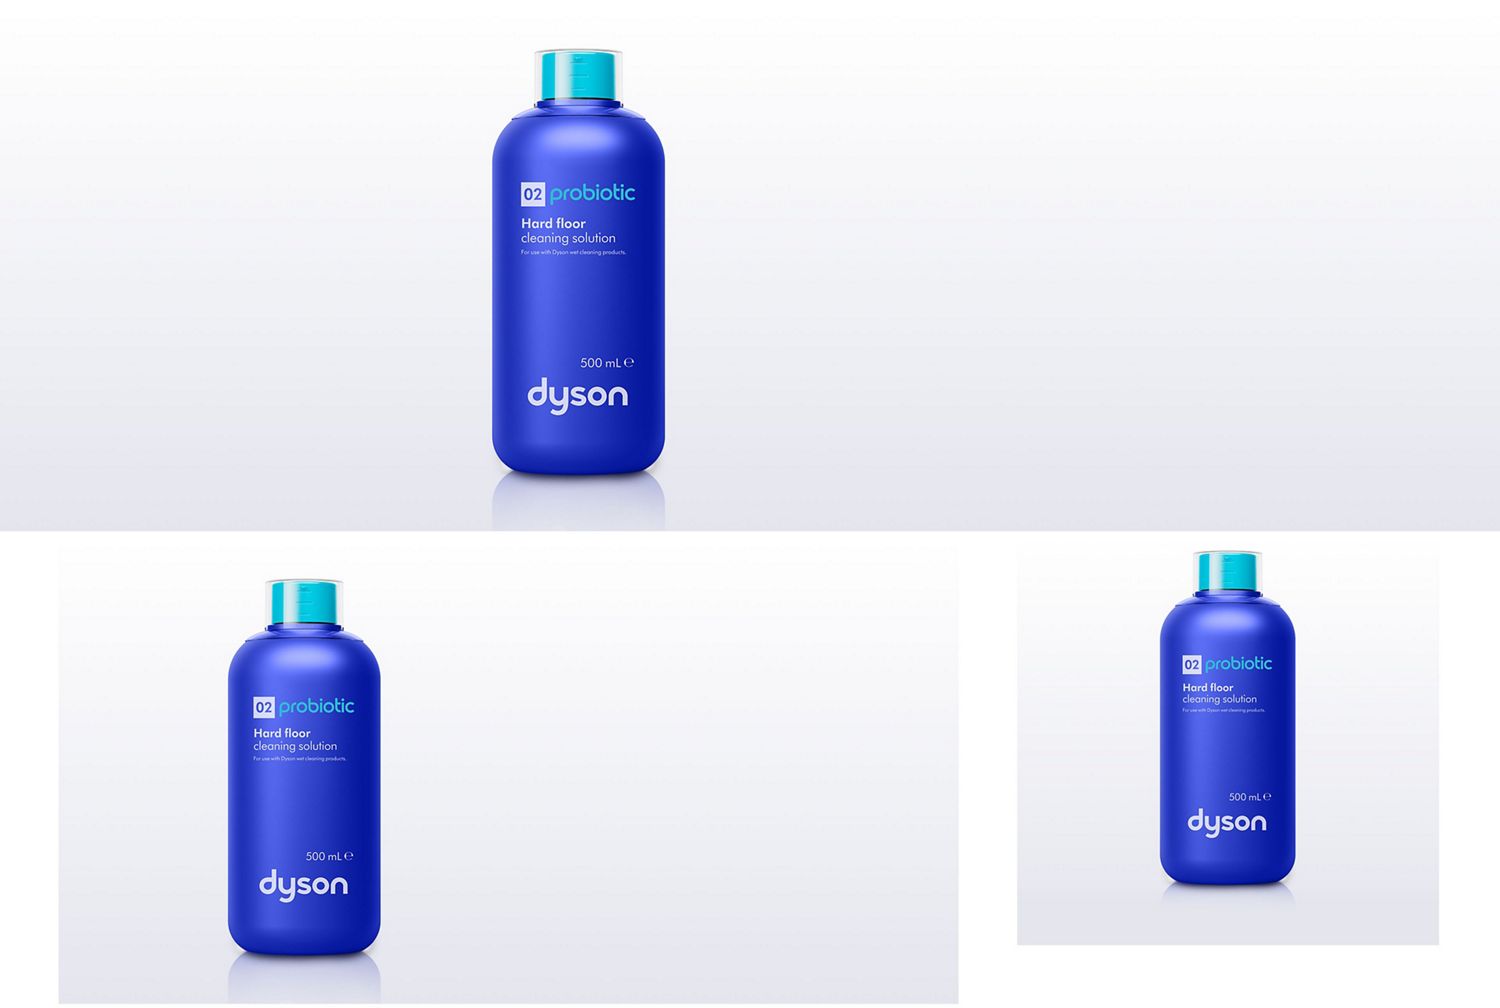
Get more from your Dyson W1 PencilWash™ cleaner
-
Modes and LED alerts
-
Maintenance
Understand your machine at a glance
Learn what each mode and LED indicator means, so you can clean confidently and respond quickly to alerts.
-
LED Screen
- Press the Power button to start cleaning.
- Check the LED screen for helpful information.
- View selected modes and battery status.
- Monitor machine alerts when displayed.
-
Standard mode
- For everyday cleaning, light spills and debris.
- Your machine’s default mode.
- One solid LED indicates Standard mode.
-
MAX mode 1
- For spot-cleaning stains and dried-on dirt.
- Press and release the MAX button once to activate.
- The mode lasts for five seconds.
- Returns to the default mode automatically.
- One solid and one blinking LED indicate MAX mode 1.
-
MAX mode 2
- For larger areas of stains and dried-on dirt.
- Press and hold the MAX button.
- The mode lasts for up to 60 seconds.
- Release the button to return to default mode sooner.
- Two solid LEDs indicate MAX mode 2.
-
Battery running low
- Check for a solid orange LED.
- Battery charge is low (5%-18%).
-
Battery critically low
- Check for a flashing orange LED.
- Battery charge is critical (below 5%).
-
Battery charging
- Check for a blinking blue LED.
- Battery is charging.
-
Non-Dyson battery detected
- Check for a solid white LED.
- Non-Dyson battery detected.
-
Main body fault
- Check for a blinking red LED.
- The alert lasts for five seconds.
- Main body fault detected.
Simple maintenance after every clean
Follow a few simple steps after cleaning to keep your Dyson W1 PencilWash™ cleaner performing at its best and ready for the next clean.
-
Remove the waste system
- Turn the machine off.
- Return it upright.
- Lift out the waste system.
- Carry it upright to the sink.
-
Empty the debris tray
- Pull out the debris tray.
- Tap debris into a bin.
- Remove remaining debris completely.
- Keep the tray clean.
-
Rinse key components
- Rinse the debris tray thoroughly.
- Rinse the anti-tangle comb.
- Empty the dirty water tank.
- Rinse all components with water.
-
Reassemble the waste system
- Refit the anti-tangle comb.
- Refit the debris tray securely.
- Check every part is seated.
- Prepare to refit the assembly.
-
Refit until it clicks
- Return the waste system.
- Insert it into the cleaner head.
- Press the red lever firmly.
- Listen for a loud click.
-
Wash the roller manually
- Remove the roller carefully.
- Rinse it under running water.
- Squeeze away excess water.
- Leave it to air dry.
-
Dry the roller fully
- Place the roller somewhere ventilated.
- Allow it to dry naturally.
- Check it is fully dry.
- Refit before the next clean.
-
Store after cleaning
- Empty the dirty water tank.
- Discard remaining clean water.
- Avoid storing dirty components.
- Keep the machine ready to use.
Can't find your issue?
Frequently asked questions
Yes – an LED screen on Dyson W1 PencilWash™ wet and dry cleaner shows hydration settings and alerts for maintenance or low battery.
On the standalone Dyson W1 PencilWash™ cleaner, one or two water-drop symbols communicate the active cleaning mode.
Turn Dyson W1 PencilWash™ wet and dry cleaner on or off with the red power button.
Run the roller for 10 seconds first so it wets evenly with the standalone machine.
Fit the battery and cleaner head, fill the clean water tank, hydrate the roller and select a mode before cleaning with Dyson W1 PencilWash™ wet and dry cleaner.
Check that the dirty water tank is empty, clean and secure with the standalone machine.
For the machine supplied with the separate charging dock, fill the clean water tank with tap water up to 35°C.
On the standalone Dyson W1 PencilWash™ cleaner, press the power button and let the roller hydrate for 10 seconds.
Use Standard hydration for everyday cleaning or MAX for stains with the standalone machine.
For the machine supplied with the separate charging dock, use the recommended Dyson floor cleaning solution for your market. Never use bleach.
On the standalone Dyson W1 PencilWash™ cleaner, China: use 10ml of Dyson 01 Hard floor cleaning solution.
Markets supplied with Dyson 02 Probiotic hard floor cleaning solution: use 10ml with the standalone machine.
For the machine supplied with the separate charging dock, when using a permitted household detergent, follow the manufacturer’s dilution instructions.
The LED screen on Dyson W1 PencilWash™ wet and dry cleaner shows the active hydration mode.
One solid water drop: Standard with the standalone machine.
For the machine supplied with the separate charging dock, one solid and one flashing drop: five-second MAX Spot.
On the standalone Dyson W1 PencilWash™ cleaner, two solid drops: one-minute MAX Sustain.
The battery icon on Dyson W1 PencilWash™ wet and dry cleaner changes when charge becomes low.
Solid orange: 5–10% remains with the standalone machine.
For the machine supplied with the separate charging dock, rapidly flashing orange: less than 5% remains.
An alert light on the cleaner head shows when the dirty water tank on Dyson W1 PencilWash™ wet and dry cleaner is full.
On the standalone Dyson W1 PencilWash™ cleaner, Dyson also recommends emptying it when the clean water tank runs out.
No – Dyson W1 PencilWash™ wet and dry cleaner does not include a self-clean cycle.
Remove and wash the roller and waste-system parts after every use with the standalone machine.
Place the wand of Dyson W1 PencilWash™ wet and dry cleaner on its separate charging dock.
For the machine supplied with the separate charging dock, the dock charges the wand while the roller and tanks are rinsed and dried.
Empty and rinse the dirty water tank and debris tray, then wash the roller from Dyson W1 PencilWash™ wet and dry cleaner after every use.
Leave the wet roller in a warm, well-ventilated place for at least 24 hours before reassembly with the standalone machine.